Picture this: retirement is on the horizon for your beloved colleague, and you’re searching for the perfect way to commemorate their years of dedication and hard work. Look no further than our Make Your Own DIY Photo Mug. This customizable and heartfelt gift allows you to put together a personalized photo mug that will not only bring a smile to their face every morning but also serve as a cherished reminder of the memories you’ve shared together. With just a few simple steps, you can create a unique and sentimental keepsake that will make their retirement all the more special.

Materials Needed
To make your own DIY photo mug for a colleague’s retirement, you will need the following materials:
Plain white ceramic mug
A plain white ceramic mug serves as the perfect canvas for this project. The smooth surface allows for easy application of the photos and designs.
Permanent markers or paint pens
To decorate the mug, you can use permanent markers or paint pens. These will ensure that your designs last even after washing the mug.
Printed photos
Choose printed photos of memorable moments with your colleague. These photos will personalize the mug and make it a special gift.
Scissors
Scissors are necessary to trim the photos and cut them to the desired size.
Clear adhesive tape
Clear adhesive tape will help secure the photos onto the mug. It is important to use a tape that is not too sticky to avoid damaging the mug.
Clear sealant spray (optional)
If you want to protect your design and make it more durable, you can apply a clear sealant spray. This step is optional but recommended for long-lasting results.
Choosing the Photos
When selecting the photos for your colleague’s retirement mug, it is essential to consider a few factors:
Selecting photos with the colleague
To make the mug even more sentimental, involve your colleague in the photo selection process. Choose photos that capture memorable moments you shared together.
Choosing high-resolution images
Opt for high-resolution images to ensure that the photos look clear and vibrant when transferred onto the mug. Low-resolution images may appear blurry or pixelated.
Considering the mug size and shape
Take into account the size and shape of the mug when selecting photos. Photos that are too large may not fit properly, while small photos may not have the desired impact.
Preparing the Mug
Before you can start decorating the mug, there are a few steps to follow to ensure the best results:
Wash and dry the mug
Thoroughly clean the mug to remove any dust or residue. This will create a clean surface for the photos and designs to adhere to. Allow the mug to fully dry before proceeding to the next step.
Choosing the placement of the photos
Decide where you want to place the photos on the mug. Take into consideration the mug’s handle and any other design elements that may impact the placement.
Trimming the photos to fit the mug
Using the scissors, carefully trim the photos to fit the desired area on the mug. It is important to measure and mark the photos beforehand to ensure they fit perfectly.
Securing the photos with tape
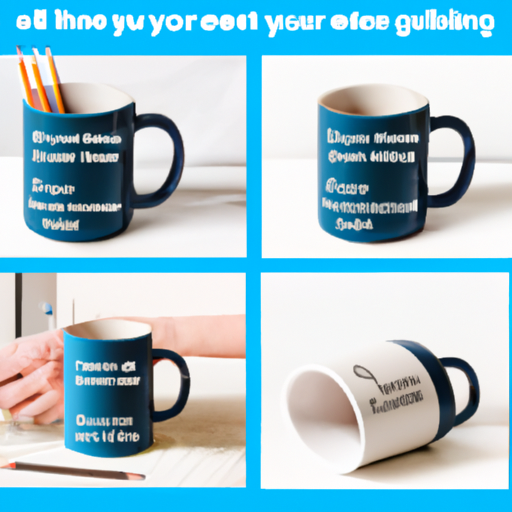
Use clear adhesive tape to secure the photos onto the mug. Apply the tape to the back of the photos, ensuring they are securely attached to the mug’s surface.
Designing the Mug
Now comes the fun part – designing the mug with memorable photos and personalized touches:
Considering a theme or collage
Think about the overall theme you want to achieve with the mug. You can opt for a collage of photos or a specific theme that reflects your colleague’s interests or achievements.
Using markers or paint pens to decorate
With the markers or paint pens, let your creativity shine. Draw borders, add doodles, or create frames around the photos. Use vibrant colors that complement the photos and make the designs stand out.
Including retirement-related quotes or messages
To make the gift even more meaningful, consider including retirement-related quotes or messages. This personalizes the mug and shows your colleague how much they’ll be missed.
Adding Personal Touches
To make the mug truly special, add some personal touches that reflect your colleague’s personality and individuality:
Using additional embellishments (stickers, glitter, etc.)
If you want to add some extra sparkle to the mug, consider using stickers, glitter, or other decorative elements. These additional embellishments can enhance the overall design and make it more eye-catching.
Including the colleague’s name or initials
Personalize the mug by including your colleague’s name or initials. This adds a touch of sophistication and makes the gift unique to them.
Including significant dates or memories
Incorporate significant dates or memories on the mug. This could be the date of your colleague’s retirement, the year they joined the company, or any other important milestones that hold special meaning.
Allowing Time to Dry
After completing the design, it is crucial to allow it to dry properly before moving forward:
Setting aside the mug to air dry
Put the mug in a safe place, away from dust or potential damage, and let it air dry. This will ensure that the markers or paint pens dry completely, preventing smudging or smearing.
Ensuring markers or paint pens are fully dry before proceeding
Before proceeding with sealing or curing the design, make sure the markers or paint pens are completely dry. This step is essential to avoid any potential damage to the design.
Sealing the Design (Optional)
To protect your design and make it more durable, you can apply a clear sealant spray:
Applying a clear sealant spray to protect the design
Select a clear sealant spray specifically designed for use on ceramics. Apply an even and light coat over the entire mug, including the photos and designs. This will help protect them from fading or rubbing off over time.
Following the instructions on the spray can
Read and follow the instructions on the clear sealant spray can carefully. Different brands may have specific recommendations for drying times and application techniques.
Curing the Design (Optional)
If you want to make the design permanent and dishwasher-safe, you can consider curing it in the oven:
Baking the mug in the oven to set the design
Place the mug in a cold oven and then turn the heat to 350 degrees Fahrenheit (175 degrees Celsius). Bake the mug for about 30 minutes. After the time is up, turn off the oven and let the mug cool down completely before removing it.
Following the specific instructions provided by the markers or paint pens
Some markers or paint pens may require specific instructions for curing in the oven. Make sure to check the product instructions for the recommended temperature and baking times, as they may vary.
Presenting the Mug
The final step is to present the mug to your colleague in a special and memorable way:
Wrapping the mug in tissue paper or a gift box
Wrap the mug with tissue paper or place it in a decorative gift box. This adds an element of surprise and makes the gift even more enjoyable to receive.
Including a heartfelt note or card
To accompany the mug, include a heartfelt note or card expressing your appreciation for your colleague and wishing them a happy retirement. This personal touch will make the gift even more meaningful.
Presenting it during a retirement celebration
Choose a memorable moment, such as a retirement celebration, to present the mug to your colleague. This will create a joyful and sentimental atmosphere, allowing everyone to share in the celebration of their retirement.
Ideas for Mug Decorations
If you’re looking for inspiration, here are some ideas for decorating the photo mug:
Using a collage of photos
Create a visually appealing collage by arranging multiple photos around the mug. This is a great way to showcase different memories and moments shared with your colleague.
Creating a timeline of the colleague’s milestones
Design a timeline of your colleague’s career milestones, starting from the day they joined the company until their retirement. This unique and thoughtful design will showcase their professional journey.
Adding illustrations or drawings alongside the photos
Incorporate illustrations or drawings alongside the photos to add a touch of creativity and uniqueness to the mug. These additional elements can help bring the design to life and make it more visually interesting.
By following these steps and incorporating your own creative ideas, you can create a beautiful and memorable DIY photo mug for your colleague’s retirement. This personalized gift will undoubtedly be cherished and remind your colleague of the wonderful memories shared throughout their career.
